This blog will record Boson HUANG’s implementation of ray tracing algorithms using Mr. Cem Yuksel‘s graphic API including basic classes, importing scene files, displaying images and outputing images.
Link to github: https://github.com/BosonHBC/BHRayTracer
Features
- Ray casting
- Blinn–Phong Shading
- Shadows
- Reflections and Refractions
- Trianglar mesh with Space Partitioning to optimize render time
- Textures and ray differential
- Antialiasing
- Depth of Field
- Glossy Reflection & Refraction, Soft shadow
- Global Illumination
- Path Tracing and MSI (Multiple important sampling)
- Photon Mapping
- more features are coming
Ray-cast, Shading, Shadows
There are mainly two type of rays right now: camera ray and shadow ray.
- Camera ray: ray shooting from camera to image plane.
- Shadow ray: ray shooting from hit point of geometries to lights.

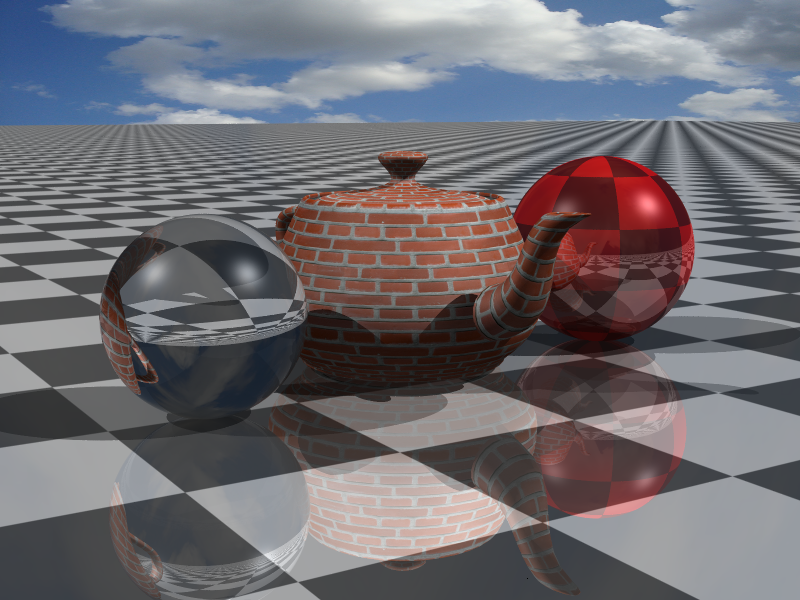
Reflections and Refractions

Reflection(Left) / Refraction(Right), bounce time: 3
Trianglar mesh with Space Partitioning to optimize render time
Using BVH( bounding volume hierarchy ) trees help speed up the rendering time for almost 100 times (from 300 secs to 3 secs).


Textures and ray differential
Images without ray differential will have heavy noises on the far place of the plane. And ray differential will reduce the noise.

Without Ray differential 00:00:02 single thread with BVH

With ray differential
00:00:02 single thread with BVH
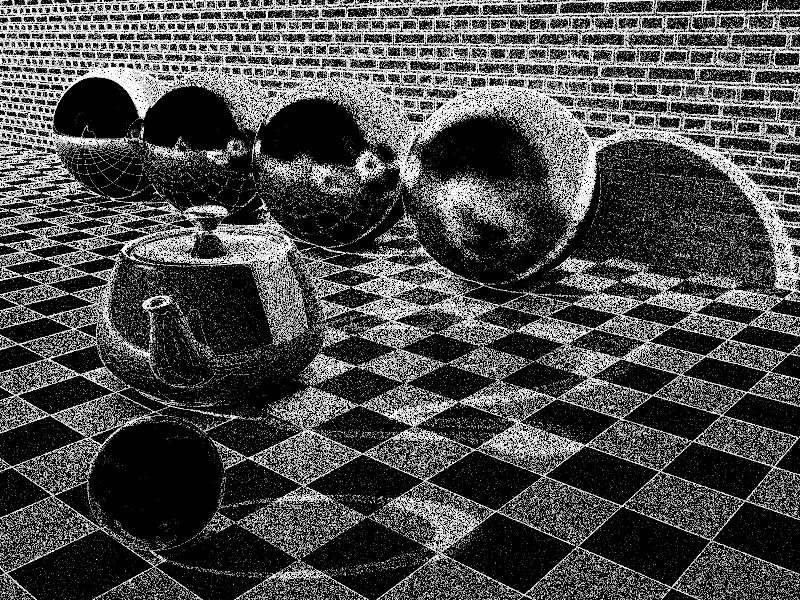
Antialiasing
I implemented jittered adaptative sampling, insuring the render speed and quality.
Max sample count in a pixel: 64, Min sample count: 4
00:00:05 16-threads thread with BVH

Sample Count in the scene. Black: less sample count, White: more sample count
Depth of Field
The multi-sampling in aperture doesn’t work with adaptive samping in pixels. So I disable the multi-sampling in pixel, instead I use uniform sampling in aperture only but with more sampling count than usual.

Sample count in aperture: 128, sample count in pixel: 1
00:00:18 16-threads thread with BVH
The idea of implementing the depth of feild is to do sampling in the appreture and the image plane should locate in the focus point.

In order to reduce noise, sampling in aperture (circle) should be uniform. Circle can be defined by a theta[0, 2π] and a radius[0, aperture radius].
If we randomly pick a s between 0 and the aperture radius, the center part will be pick more frequently. So we need to do weighted sampling, reduce the chance of picking center r. After solving the intergral, the weighted r should be:
r = sqrt(rnd01()) * R; // R is the aperture radiusThe following code show how to do weighted sampling in aperture:
Vec3f GetSampleInAperture(const Camera& cam) {
// Center of aperture
Vec3f O = cam.pos;
// Radius of aperture
float R = cam.dof;
// Non-uniform distribution
float r = ((double)rand() / (RAND_MAX));
// Uniform distribution
r = sqrt(r) * R;
float theta = ((double)rand() / (RAND_MAX)) * 2 * PI;
// Random point in a circle
float x = r * cos(theta);
float y = r * sin(theta);
return O + camXAxis * x + camYAxis * y;
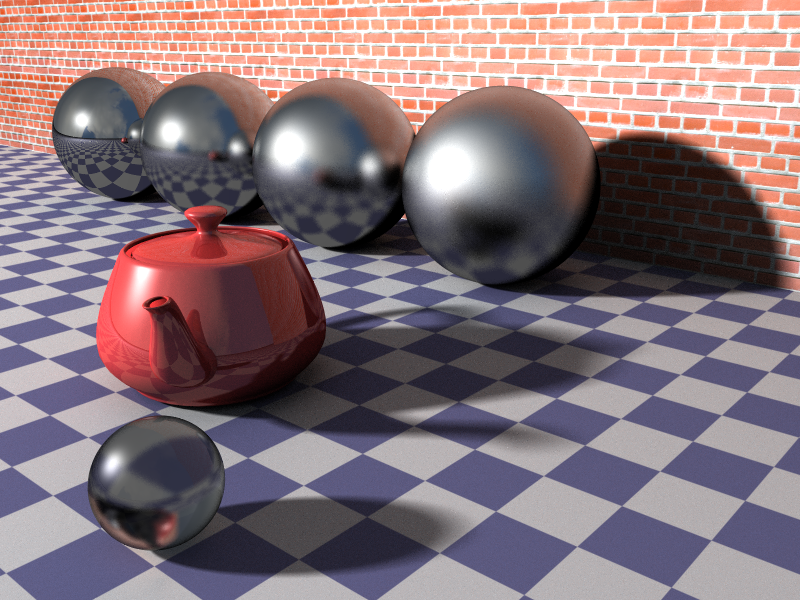
}Glossy Reflection & Refraction, Soft Shadow

Reflection sample: 8, Refraction sample: 8
00:07:32 16-threads thread with BVH
To define a glossy surface in an abstract way is somehow easy:
<material type="blinn" name="red">
  <diffuse r="0.8" g="0.2" b="0.2"/>
  <specular value="0.8"/>
  <!-- glossiness defines the glossiness property of the surface -->
  <glossiness value="100"/>
  <reflection value="0.3"/>
</material>
The reflection direction that previously implemented was perfect reflection direction. In order to have a “simulated” glossy surface, a good way is to get sample along the normal direction, generating a new normal, and calculating the new reflection directoin. At the end, average all samples as the final result.

The radius of the sampling circle is:
R = 1.f / glossiness;The following code shows how to do weighted sampling along the surface normal:
cy::Vec3f GetSampleAlongNormal(const Vec3f& N, float R)
{
	// Random value from 0-1
	float r = ((double)rand() / (RAND_MAX));
	// Uniform distribution
	r = sqrt(r) * R;
	float theta = ((double)rand() / (RAND_MAX)) * 2 * PI;
	// Random point in a circle
	float x = r * cos(theta);
	float y = r * sin(theta);

	Vec3f axis1 = GetRandomCrossingVector(N).Cross(N);
	Vec3f axis2 = axis1.Cross(N);

	Vec3f sampledN = N + axis1.GetNormalized() * x + axis2.GetNormalized() * y;
	return sampledN;
}
The implementation of soft shadow is similar to this step. Rather than sampling along the normal, we should sample along the direction to the center of the light. Only lights with volumes can generate soft shadows. Therefore, do a weighted circle sampling on the sphere light and calculate the average block rate.

Such as, 56/128 shadow rays hit the light and other rays are blocked by other geometries, than the radiance of this point should time 56/128.
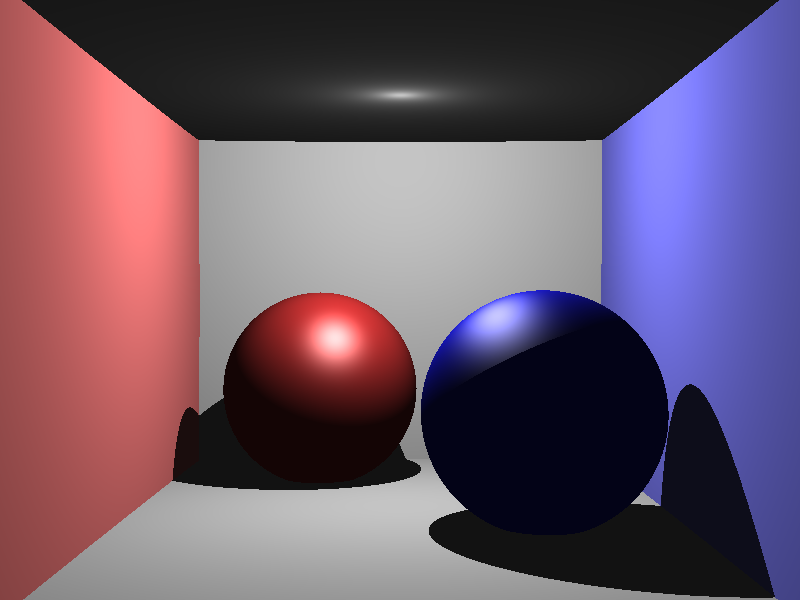
Global Illumination
Global Illumination is everywhere in our life. Objects are illuminating each other. It is impossible to trace all indirect ray, but it is possible to sample the surrounding environment and average them together to form a global illumination effect.

512 samples in indirect illumination

512 samples in indirect illumination
512 samples in indirect illumination
Sample count image
Other than the diffuse / specular, reflection and refraction, global illumination can be added to the output image too. The way to achieve it is to do semi-sphere weighted sampling.
Semi-sphere can be defined by two angle: θ->[0, π/2 ) and φ ->[0, 2π)as the following image shows:

Similar to doing circle sampling, if we randomly pick an angle for theta, the result will be highly dense around z-axis. Therefore, weighted sampling for θ is neccessary. After solving the intergral, θ should be:
θ = 0.5f * ArcCos(1 - 2 * rnd); // rnd is random number from 0 to 1The following code shows how to get a sample in semi-sphere:
cy::Vec3f GetSampleInSemiSphere(const Vec3f& N)
{
	Vec3f axisY = (N.Cross(GetRandomCrossingVector(N))).GetNormalized();
	Vec3f axisX = N.Cross(axisY);

	// Uniform distribution, phi -> [0 , 2*PI)
	float phi = ((double)rand() / (RAND_MAX)) * 2 * PI;

	float rnd = ((double)rand() / (RAND_MAX));
	// Uniform distribution, theta -> [0 , PI/2)
	float theta = 0.5f * ACosSafe(1 - 2 * rnd);

	float sinTheta = sin(theta);
	return sinTheta * cos(phi) * axisX + sinTheta * sin(phi) * axisY + cos(theta) * N;
}
After getting enough samples in semi-sphere, average all of them as the final GI result and add it to the output color.
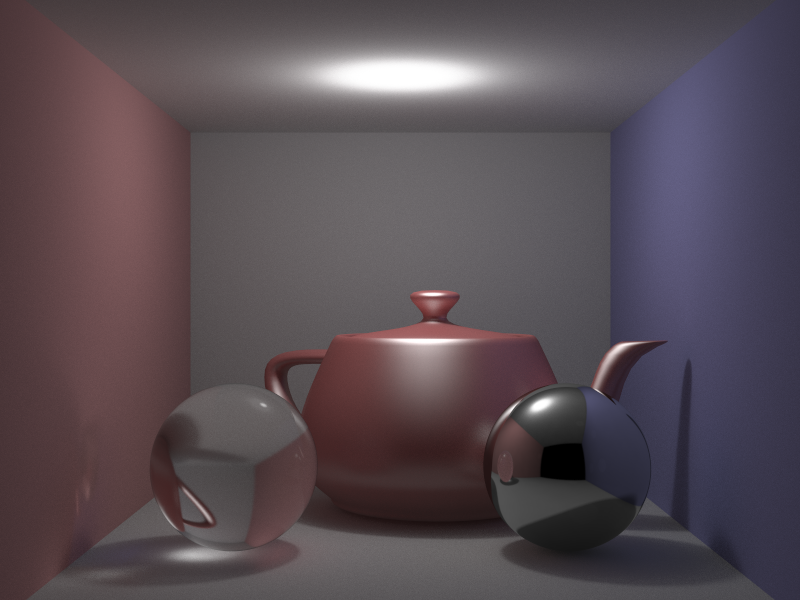
Path Tracing and MSI (Multiple important sampling)
Everything has changed in path tracing. Path tracing makes the image more realistic.

512 sample per pixel
5 bounces

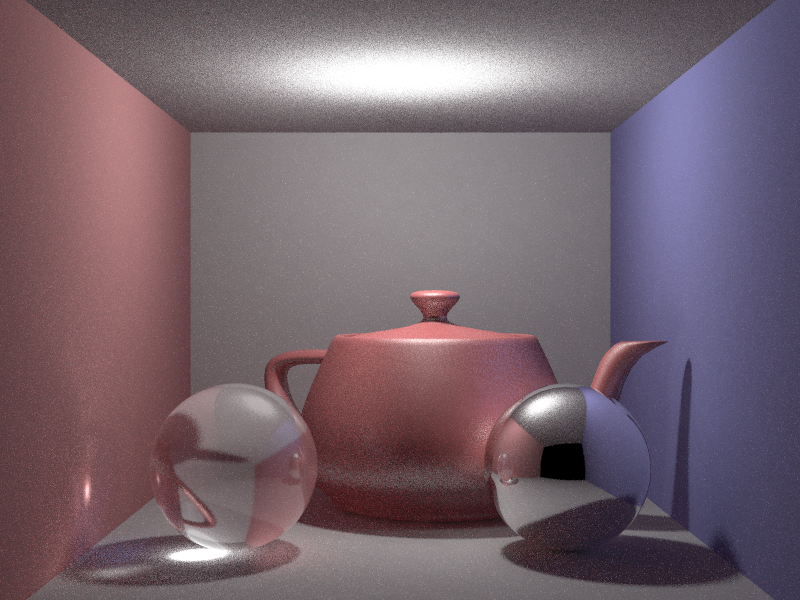
1024 sample per pixel
10 bounces

1024 sample per pixel
10 bounces
Photon Mapping
1024 rays per-pixel, 4 bounce counts, with normal photon map only

normal photon map
16 rays per-pixel, 4 bounce counts, with caustic photon map only

Caustic photon map
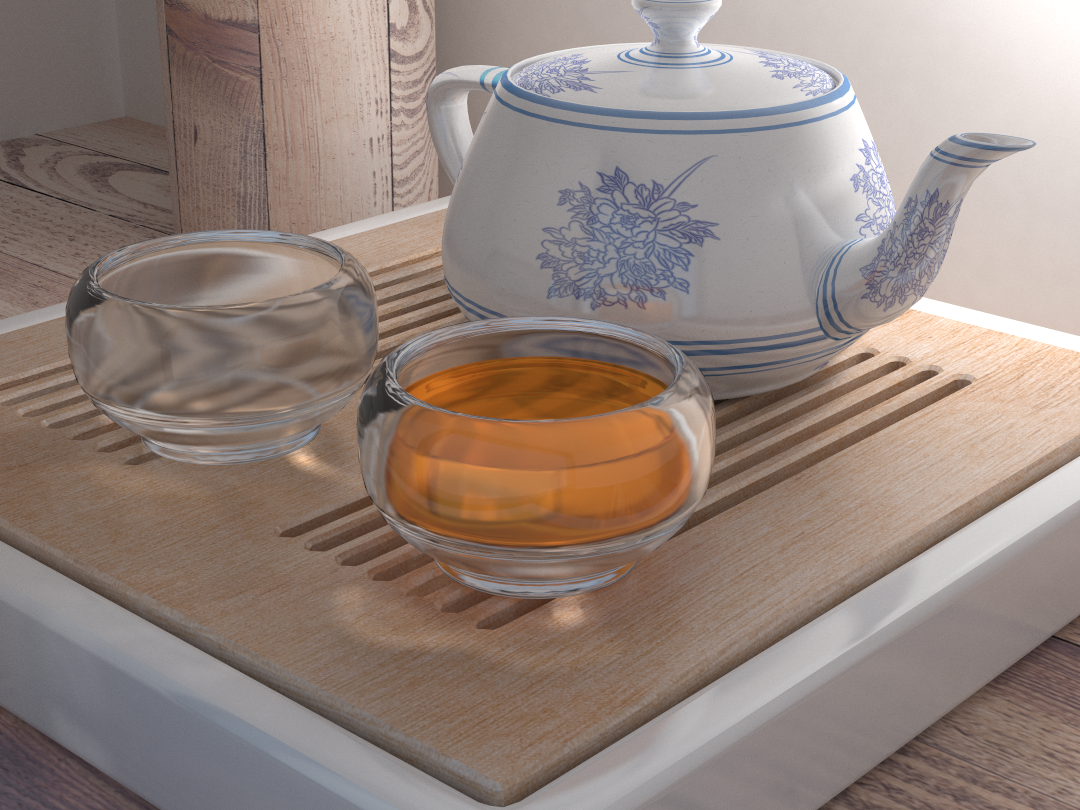
Teapot rendering competition

Teapot competition image
resolution: 1080*810
1024 rays per-pixel, 5 GI bounce count, with caustic photon map
Time: 13hrs

Caustic photon map

intermediate result

white models: 4096 rays per-pixel, withou photon map
Reference to textures:
https://www.wildtextures.com/free-textures/wood/wooden-scrap-table-top/
https://www.wildtextures.com/free-textures/wood/clean-plywood-texture/
https://www.58pic.com/newpic/34131957.html
